Getting Started with CuteNote: Turn Videos, Podcasts, and Documents into Notes
Follow our product walkthrough to summarize links and files, explore mind maps, ask questions, and keep the ideas that matter.

An interview you want to understand. A podcast you saved for later. A research paper and a stack of lecture slides. Useful information arrives in different formats, but the question is often the same: what should I take away from this?
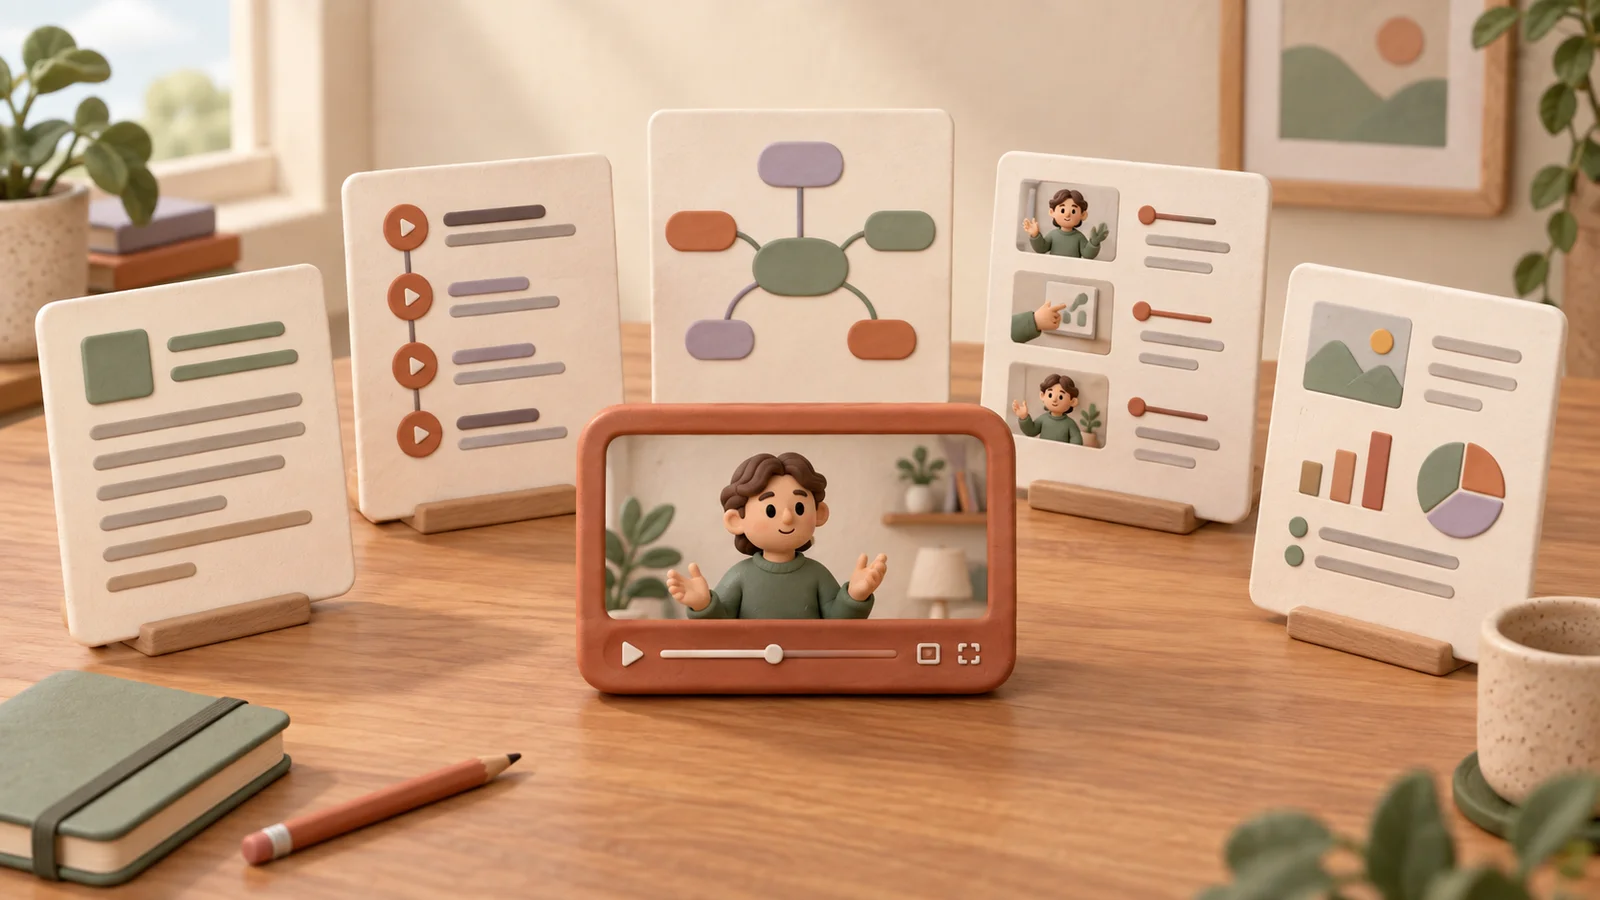
CuteNote helps turn that material into something you can return to: a visual summary, a mind map, or detailed Markdown notes. This guide follows our introduction video's workflow, from pasting your first link to exploring the result and saving it for later.
The walkthrough opens with an eight-hour-video example. The useful idea is bigger than that particular duration: start with an overview, then return to the parts that deserve your attention. Processing time and available input lengths depend on the source and your account limits.
Start with a link
The simplest workflow in the video has three steps:
- Copy the link to the content you want to understand.
- Open CuteNote and paste it into the input.
- Choose your note format, generate the note, and open the result when it is ready.
The first example in the walkthrough is an interview with Elon Musk about Neuralink. Rather than treating the resulting summary as the whole interview, use it as a guide to its main topics. You can then look more closely at an explanation, compare related ideas, or check the original wording.
You can follow the same approach with shorter content. The video demonstrates links from X, TikTok, and Instagram as well as longer articles and Reddit posts. Source access still matters: a link must be retrievable, and a deleted or restricted post may not produce a result.
For a focused walkthrough, see how to summarize YouTube videos or our TikTok summary guide.
Choose how you want to read the result
Not every source needs the same kind of note. The introduction shows three ways to explore the ideas, each with a different purpose.
| Format | When to use it | What to look for |
|---|---|---|
| Visual note | You want a compact overview to scan or share | Main ideas and a clear visual structure |
| Mind map | You want to understand how topics connect | Branches, relationships, and subtopics |
| Markdown | You want more detail in a text document | Explanations, headings, and supporting points |
In the walkthrough, the Markdown version provides more detail than the long image and mind map. That makes it a useful next stop when an overview leaves you wanting more context. The mind map can also be opened full screen to make its branches easier to explore.
Start with the format that fits your purpose. Available views depend on what has been generated for the note; generating another format is a separate action when needed. For a portable text workflow, read how to turn YouTube videos into Markdown notes.
Go back to the transcript and ask questions
A short summary cannot include every detail. The introduction also shows the original transcript and the option to ask AI questions about the video.
Try a question that points to something concrete:
- What reasons does the speaker give for this conclusion?
- Which steps are described, and in what order?
- What qualifications or limitations does the speaker mention?
- Can you explain this term using the surrounding discussion?
The video's workflow uses the transcript as the basis for those answers. This is useful for exploring the source, but you should still check quotations, names, and important claims against the original material. A chart or an unspoken action on screen may require watching that section again.
Keep the difference between the source's claim and your own conclusion visible. A good follow-up question helps you understand the material; it does not turn an opinion in an interview into an independently verified fact.
Bring articles and podcasts into the same workflow
The walkthrough moves from videos to long articles on X, Reddit posts, and web articles. When a page is accessible, paste its URL to request a note. You can also paste the article text directly.
You do not need to perfect every line break first. Still, selecting the relevant article text and leaving out menus or unrelated comments gives the note a clearer starting point. If you use copied text, keep the original link with your own records so you can find the source later.
The introduction also demonstrates podcast links from Apple Podcasts and Spotify. For a long conversation, start by looking for the main topics and the arguments behind them. Use the overview to decide what to listen to closely rather than assuming it preserves every anecdote or qualification.
Podcast availability varies by episode and source access. If a link cannot be processed and you have a supported local audio file that you are allowed to use, the upload workflow offers another starting point.
Upload the files you already have
You do not need a public URL for every source. The video demonstrates uploading local audio, dragging in a local video, and bringing a paper and a PowerPoint presentation into CuteNote.
The examples include a NASA podcast about artificial intelligence, a Google Meet tutorial, and a lecture deck with 69 slides. These illustrate different reasons to make a note:
- Audio: identify the topics you want to revisit in a conversation.
- Video: turn a demonstration into a set of points to review.
- Research paper: get an orientation before reading the argument and evidence closely.
- Lecture slides: bring the main themes together before studying individual slides.
Use the upload control or drag a supported file into the input, then follow the upload and generation steps. Check the accepted formats and limits shown in the interface. A summary can help you find your way through a document, but important figures, equations, or visual details still deserve a look at the original.
Record something you want to remember
The introduction shows another route: recording first, then generating a note. Open the recording workflow, choose the available recording source, and start. When finished, stop the recording, review it, adjust the selected portion where the interface allows, and generate your note.
This can be useful for a discussion or an online session you are allowed to record. Check the selected audio source before a longer recording so you know which sound is being captured.
CuteNote can also be opened on your phone. The walkthrough includes a mobile recording example, but screen and audio capture options depend on the browser, operating system, and permissions. Use the controls your device actually provides; desktop and mobile capture should not be assumed to work identically.
Save the useful part
The video finishes the note workflow by exporting a summary as an image. A visual note can be convenient to save or share, while Markdown is useful when you want to keep working with the text.
Before exporting, read through the result and check the details that matter to you. When sharing, keep enough context for another reader to understand where the ideas came from. Avoid presenting a shortened summary as the full source.
Your first session can be simple: pick one useful link, generate a note, read the overview, and investigate one point more closely. Then save the format you are most likely to use again.